
Refinishing Original Yellow Pine Floors
I'm back to share a long awaited update on our upstairs renovation! Last spring, we started work on our Master Bedroom installing a faux brick accent wall and beginning the process of refinishing the floors. A few months later, I tore out the carpet in the adjoining hallway and we've been working on these projects on and off for the last year.
Here's what our 113-year-old yellow pine floors looked like when we first uncovered them:

Here's what the bedroom floors looked like last spring, after their first coat of stain:

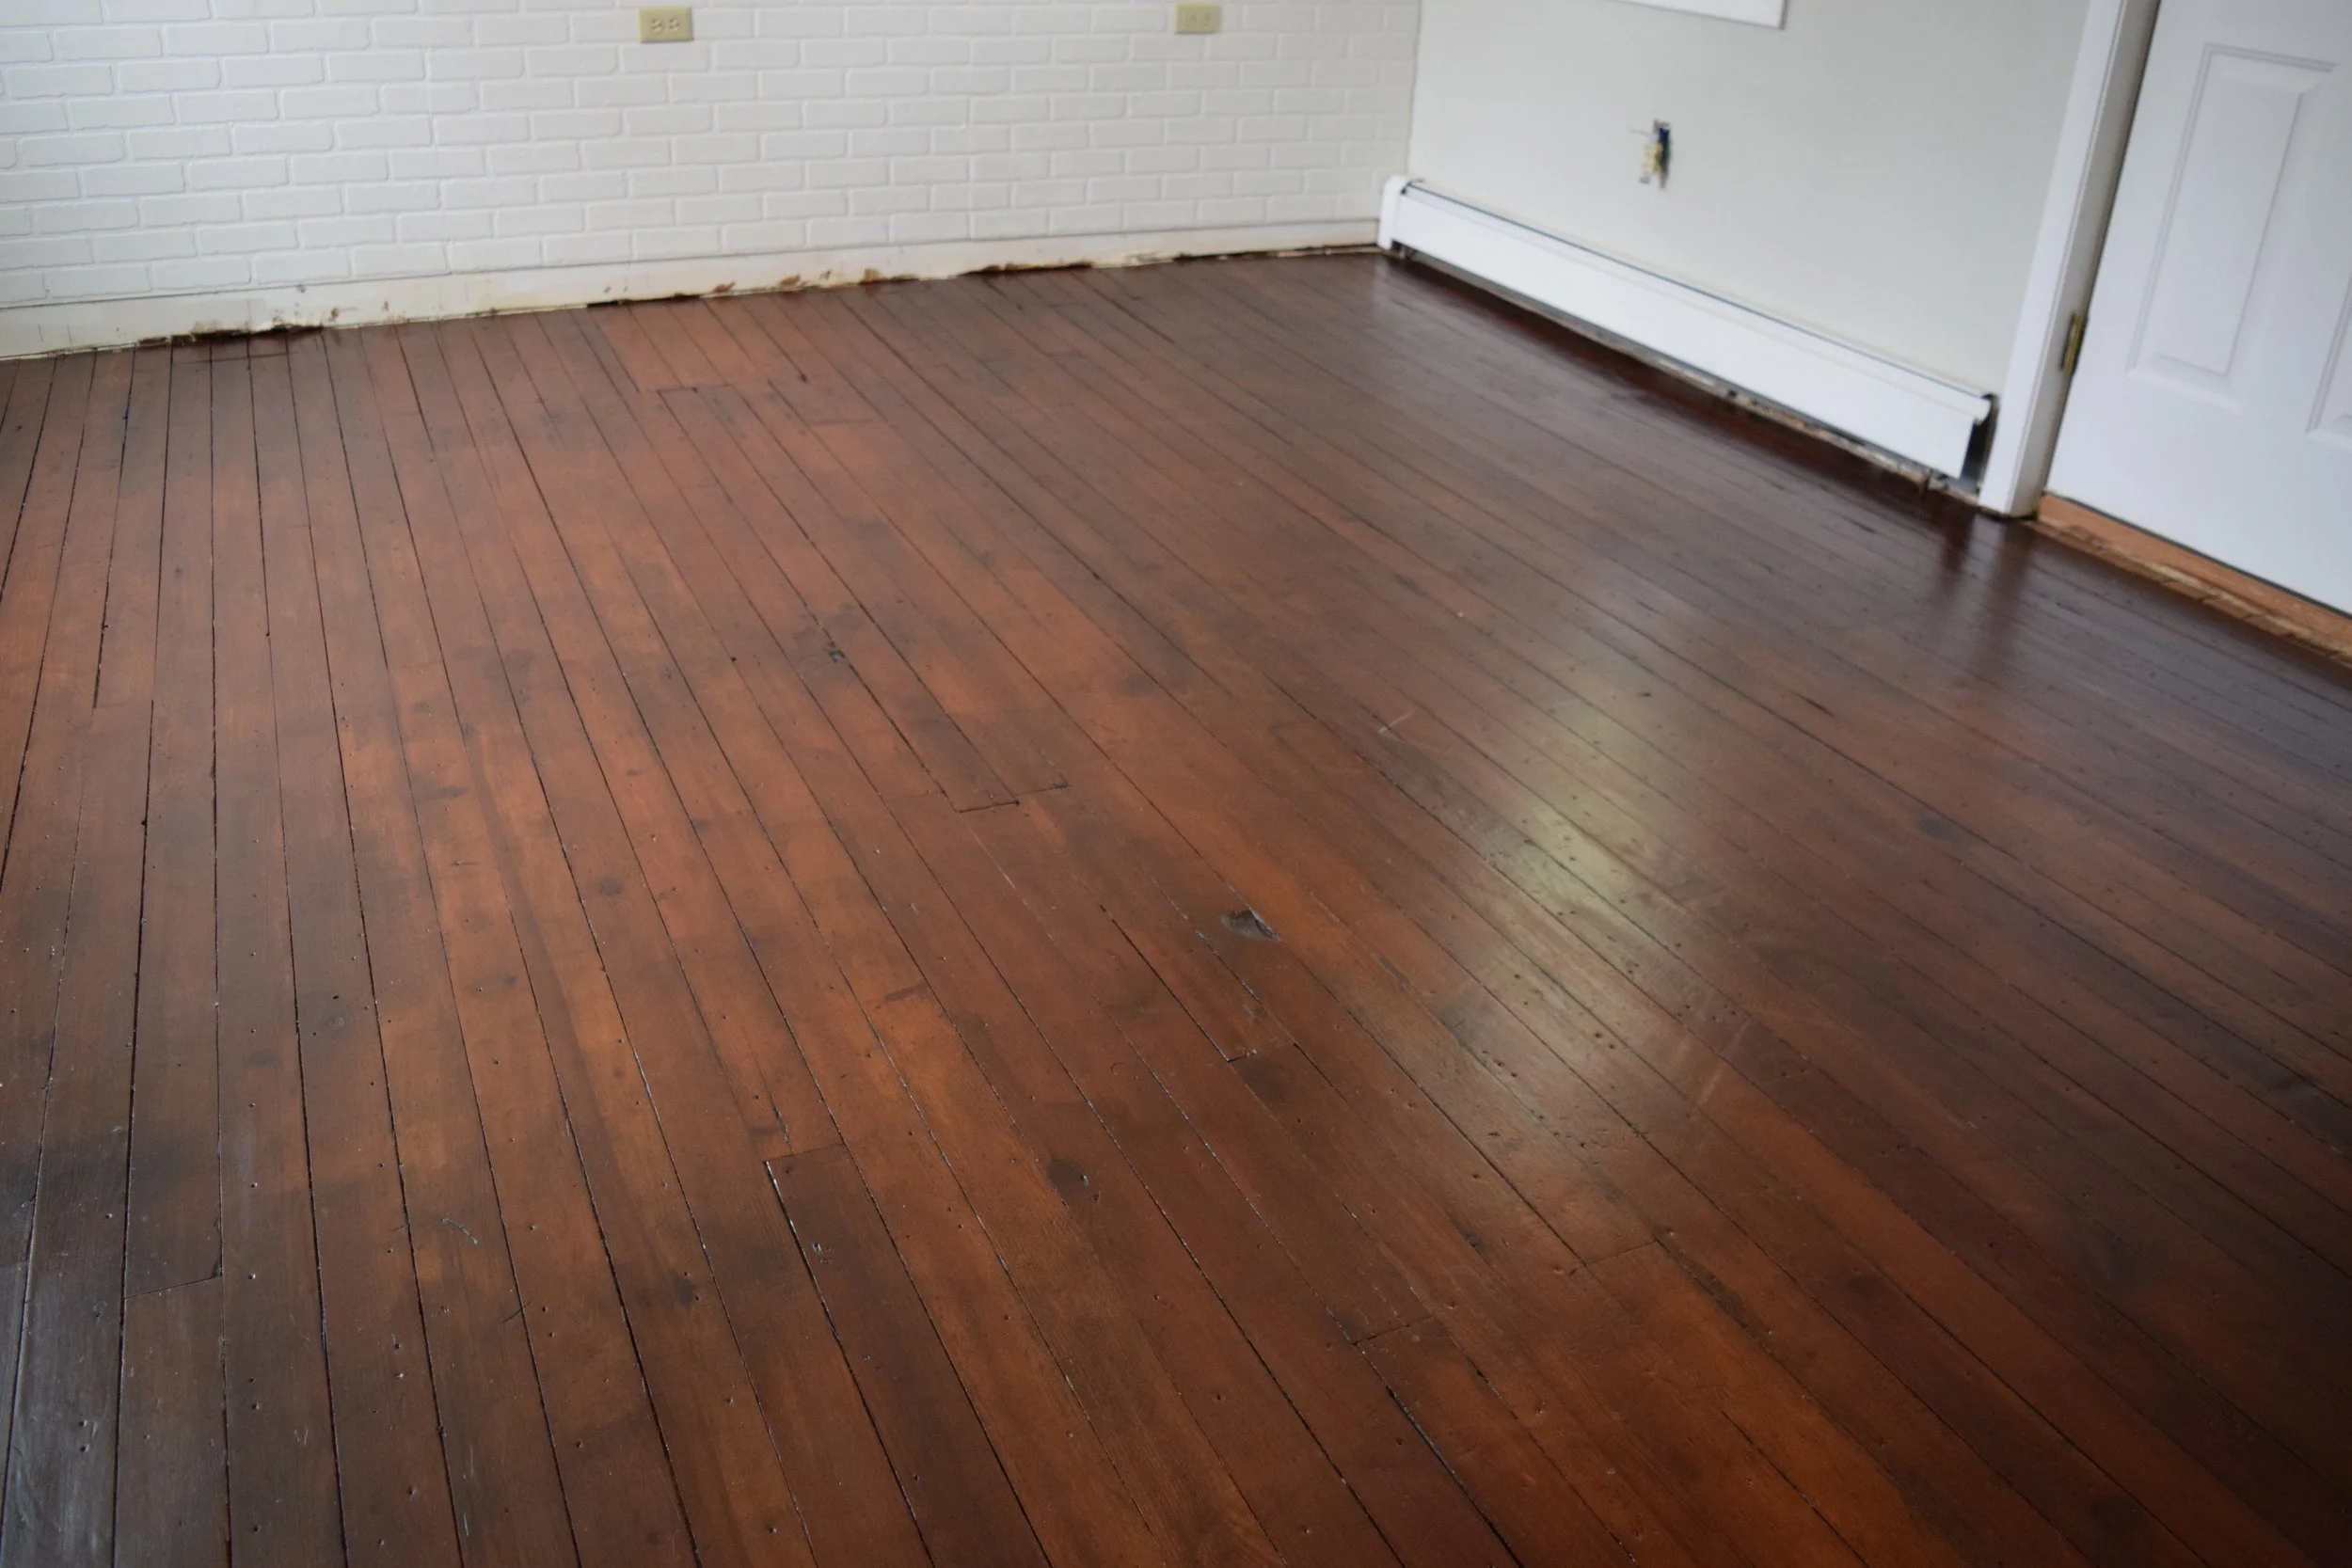
And here's the same view now:

We like a more rustic look and don't mind seeing the imperfections in 100 year old floors. Since our floors weren’t in too rough of shape, our goal wasn't to completely sand them bare and start fresh, but more to clean up the wood, patch in any damaged area and then lightly sand and restain.
The challenges
Old yellow pine is not technically a hardwood, it's a softer wood species that tends to dent or splinter more easily than a true hardwood like oak, maple or walnut. This means the floors had more imperfections, and we had to be more careful with them as we were removing the flooring materials that had been installed over them and as we were sanding. We chose to sand using palm sanders instead of renting a large belt sander to have more control and lessen the risk of damaging the soft wood during the sanding process. Some people say you shouldn’t try to DIY refinishing pine floors because of this, but if you are patient and are of the mind that imperfections add character then this is a totally doable project.
Our floors had been covered with underlayment, then vinyl, then padding and carpet. The carpet, padding and vinyl weren't hard to remove, but the underlayment was attached with tiny 1/2" nails spaced every 5-6" ACROSS THE ENTIRE FLOOR. Overkill much? I have no idea why they used that many nails, but I can tell you removing the underlayment and pulling all those nails was a beast. We have a large pickle jar full to the brim of nails we pulled out of these floors. But, all of these layers did protect the original floors for decades so I am thankful for that!
There were a few areas that had been badly damaged and needed replaced. Anthony & my dad were able to use parts of damaged boards they pulled out of the hallway to patch the bad spots in the bedroom floors and replaced the wider hallway boards with new. The hallway had already been patched with several wood species in several different widths over the years, so now with the stain and polyurethane it's pretty hard to tell what's old and what's new.
The products we used
We applied two coats of English Chestnut by Minwax using these terry cloth staining pads. We could have done one coat to keep it lighter but our pine floors had lots of variation and then second coat really helped to even out the different tones. After the stain had fully dried, we applied Minxwax Super Fast Drying Polyurethane for Floors in a Satin finish using a lambswool applicator for a super smooth finish. The polyurethane really brought out the vibrance of the wood grain and blended in the areas that had been patched with a different wood species over the years. To demo out the layers of flooring that were covering our wood floors, I used this small pry bar with a hammer to chip away at the underlayment and then used the notched "v" groove to pull up the nails.


What I wish we had done differently
One thing I didn't have that I wish I did was knee pads! With demo, clean up, sanding, vacuuming, staining and polyurethane, I've been over every inch of this floor at least a dozen times and I have the bruised up knees to prove it. Before we start pulling up the carpets downstairs, I'm definitely buying a pair of knee pads!
Also, we chose a darker stain to mask some of the variation in the wood, especially where it had been patched with other species. While I do like the finish we ended up with, I think we could have gone a little lighter and it still would have been fine. With area rugs and furniture, a lot of the spots I was worried about are hidden away anyway! I wish I would have considered that more when choosing a stain color. But you live and you learn!

What's next
As you can see from the photos, we need to install transition strips between the hallway and the bedrooms and new baseboards in both the hallway and the master bedroom. If you watch my stories on Instagram, you may already know that I tore out the carpet on the stairs last week too. I have a real problem with finishing a project completely before a make a big mess starting a new one. The stairs were also covered in vinyl (and then painted over) with metal stair nosing. I'm now chipping away at the vinyl, but underneath that is some sticky felt paper and many layers of paint. My plan is to strip the treads and refinish the wood and just clean up and repaint the risers white. It's slow going, and it's made me grateful that the rest of the floors had a underlayment protecting the original wood from the vinyl and adhesive!

Once the floors have had time to cure, we will start moving in our bedroom furniture! I can't wait to finally put together our new bed and get our mattress and boxspring off the floor! I'm so excited to start putting the room together!
Can you believe the floors are finally done?
If you've been following along for a while, you know this was a really big project for us! These floors were so much work, but now I smile every time I go upstairs.